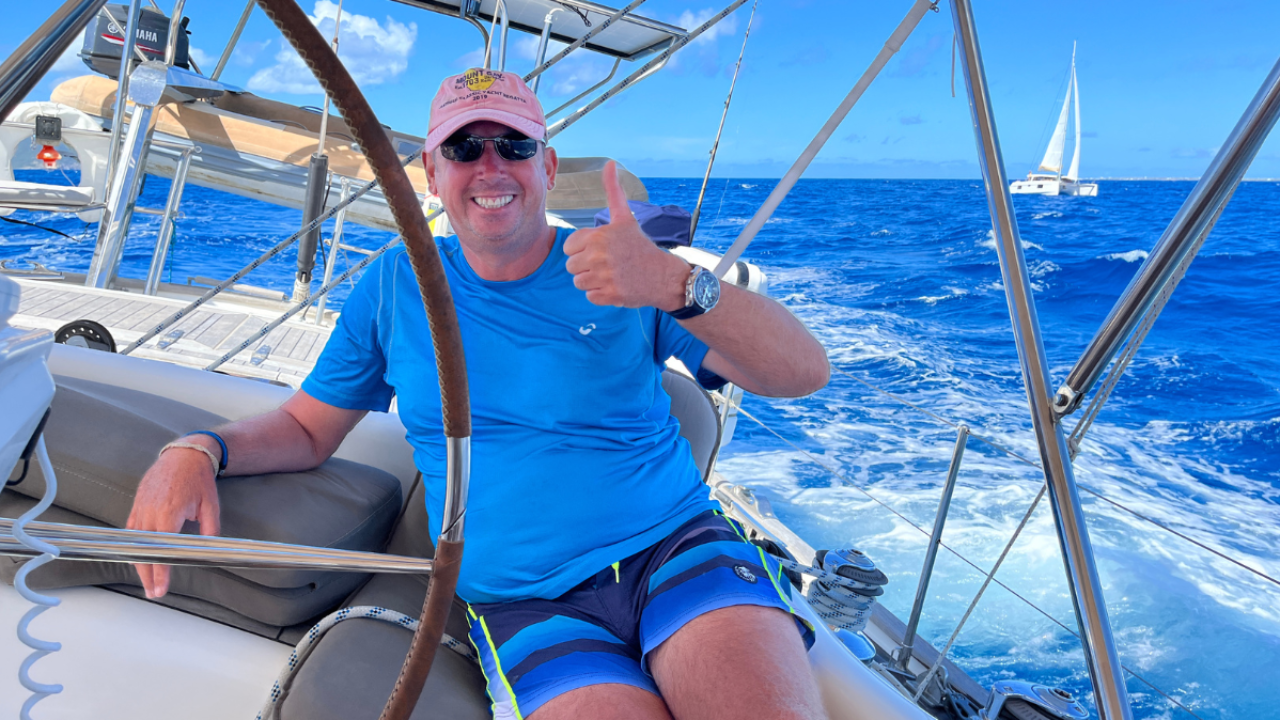


Sailing Experiences Feedback
“Want to thank you folks once again for a fabulous Britican Experience. I feel I learned more from my Britican Experience than I did from the ASA sailing courses I took in the same one week's time. It's all about hands-on. You folks answered all my questions and presented the realities of cruising very nicely. Quality Boat + Quality Instruction ='s a Quality experience, the Britican Experience! None compare. Looking forward to my next Britican Experience.”
Jim Hughes - Click for more info on our Britican Experience.
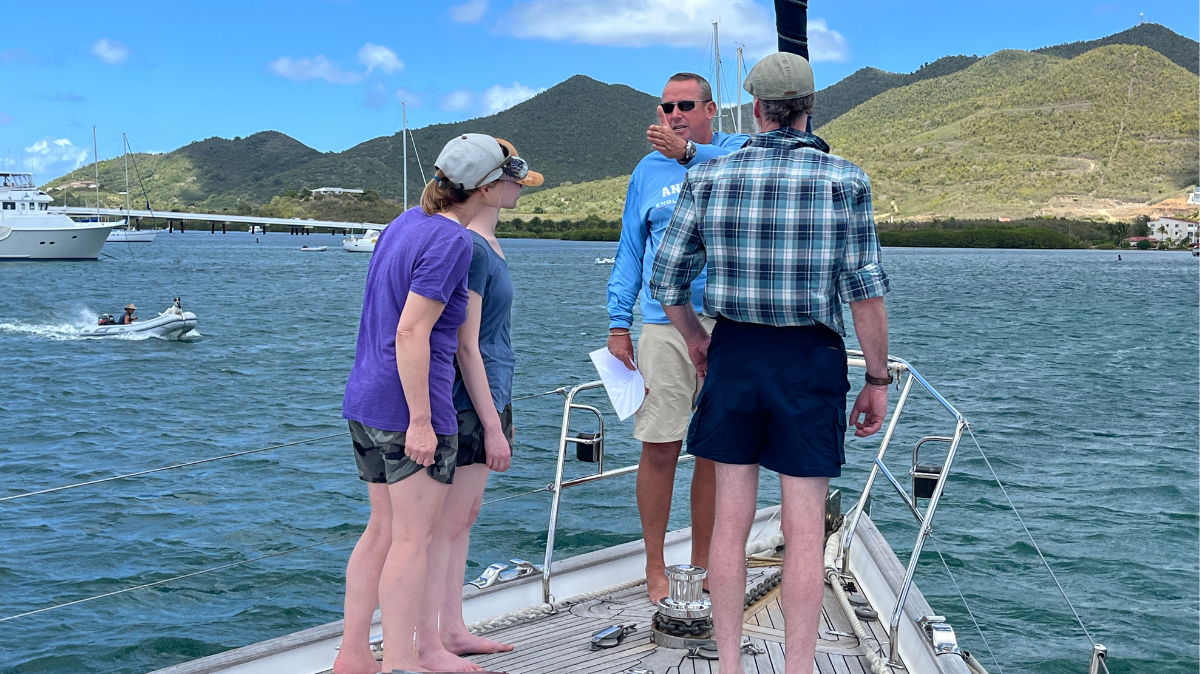
"Experience is an understatement. We need to invent a new word! I had an incredible journey, infused with learning opportunities, meeting wonderful people, and being immersed in a wonderful TEAM of sailors. THANKS Britican for a life-enhancing adventure."
Merrill Pierce - Click for more info on our Britican Experience.
"If you're thinking about buying a boat and sailing away, the best thing you can do is spent a week on Britican first."
Kyle Martindale - Click for more info on our Britican Experience.
Sailing Guides & Sailing Resources Feedback
VHF Radio Checklists & Templates "As a first time sailboat owner, I found the book extremely informative. With proper instruction of VHF procedures, I can now feel confident that I can communicate properly in times of need. The templates are helpful and will be installed on board." Robert Green
Checklist For Sailors "As a new boat-owner, I was about to start writing my own checklists and came across this book, which seems to cover pretty much everything. Plus it comes with the added bonus of access to an editable version, so you can customise your lists. It will save me a heap of time!" Jan Reading
Sailboat Buying Guide For Cruisers "This book gives the reader a forrest view of the steps and considerations when buying a boat. Starting with exploring the reason you want the boat (what experience, adventure, or lifestyle are you hoping to get?), it walks the reader through all the relevant issues and options. Nothing revolutionary in this book, but a good set of checklists for every stage of acquiring a sailboat." Reiff Lorenz
FREE SAILING GUIDE
