No sailor wants to experience a demasting. Make sure to complete a sailboat mast inspection, as part of your overall rigging inspection, at least once a year.
Have you ever seen a sailboat with its broken mast hanging precariously over the bow of the boat. The sails are trailing in the water and the boat looks like it’s limping back to port? The sight will create a pit in your stomach and an ache in your heart.
What causes a demasting?
The main rig is the mast and the wire stays and shrouds that support the mast. Generally, these two components rarely cause the problem. Issues often come from all the pieces and parts that connect the shrouds and mast to other components. These components are called the tangs, turnbuckles, and chainplates. Equally important, but smaller in size are the screws, bolts, terminal fittings, clevis and cotter pins.
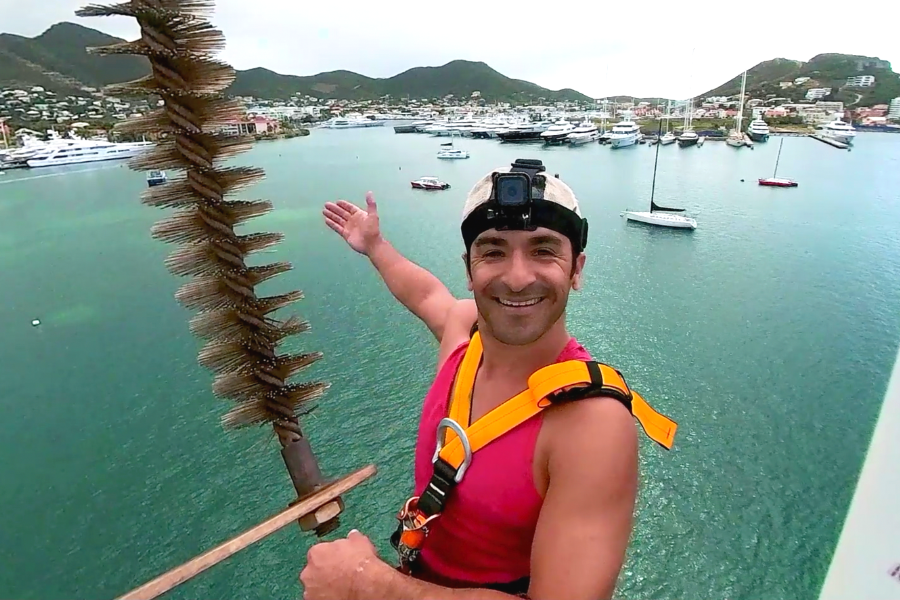
The good news is that in under an hour, all these items can be inspected. The not-so-good-news is that in order to fully inspect the mast, you’ll need to be hoisted to up to the top. Watch this video to get a feel for what it’s like inspecting, and doing work, at the top of the mast.
And what are those brush looking things at the top of the mast?
Interestingly, those brush things (there is one on either side) have nothing to do with sailing. The actually have to do with weather. Watch the video to find out what they are.
Sailboat Mast Inspection Video
In my Checklists for Sailors guide you can gain access to a full rigging checklist. This article and video cover the top of the mast.
Here are some tips on making the most of your sailboat mast inspection.
- Before heading up to the top of the mast, test your electronics and navigation lights. Do you need to bring up a new bulb or a wind indicator tab?
- Consider all the things you might need once you’re at the top of the mast. Consider a set of screw drivers, magnifying lens, a mirror, pliers, small hammer, extra cotter pins, rigging tape, and some heavy load lubrication. Additionally, bring a camera or phone to take pictures of anything that looks suspect.
- When going up the mast ensure you have two halyards attached to a bosons chair. Don’t use the halyard fitting to clip onto, make a secure knot instead because fittings can fail.
- When at the top, inspect all connections. Clean up any rust, apply lubrication, take photos. Look for obvious issues like rust, cracks, bubbles, pockmarks, white powder, or distortions. Also, look for weakness, rot, or discoloration. Test every weld, rivet, screw, fitting.
- Pay special attention to the sheaves as they often wear over time and can be split or crushed by the wait of the sail. If there is something that doesn’t look right, take a photo of it so you can show a rigging specialist.
If you’re interested in a full rigging checklist in addition to all essential sailboat checklists like passage planning, anchoring, Diesel engine checks, cleaning, medical, provisioning, and more, visit: Checklists for Sailors
Other Articles and Videos That You Might Like?
- How To Do A Boat Safety Audit
- Tie Onto A Cleat
- How to Increase the Lifespan of Your Batteries
- How To: Stern To Med Mooring – 8 Easy Steps!
Any Questions or Comments?
Please leave them below.

Nice video👍
Hi Kim,
You forgot one very important thing about going up a mast.
Once you are all the way to the top, take a deep breath and enjoy the view it’s not that often that you can see that far around your boat.
I loved the view from Britican’s mast at 86ft, on top of the world…