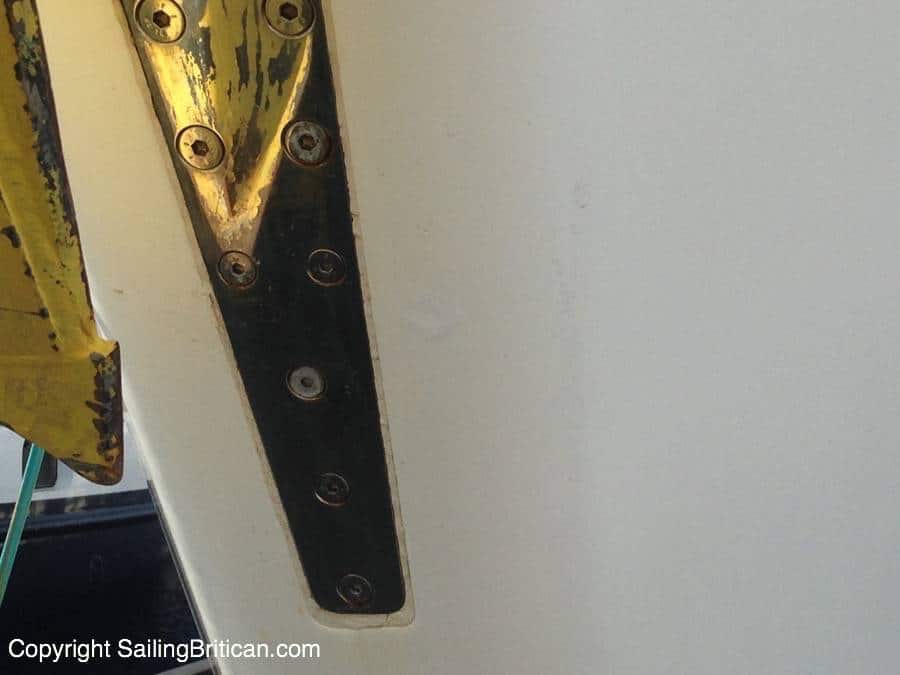
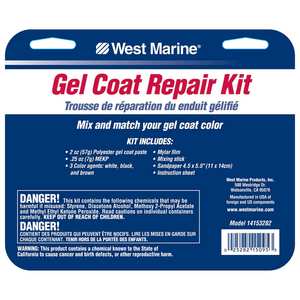
A gelcoat repair on a boat can be inexpensive and easy. Here you’ll find step-by-step instructions and a video on how to use a gelcoat repair kit to make a nick, scratch or chip disappear.
Gelcoat Repair Kit Instructions
- Clean the damaged area using acetone to eliminate dirt, grease and wax. Make sure to avoid getting acetone on the non-damaged area. If possible, tape up the area not damaged.
- Squeeze the polyester resin gel into a plastic mixing cup.
- For colored gelcoat put a small amount of base color into the gel. Keep adding until the desired color is obtained. Mix thoroughly.
- Once mixed, add 4 drops of hardener for every teaspoon of blended gelcoat paste (or as per the directions provided on from the manufacturer). Mix thoroughly.
- Having around 15 minutes before the gelcoat hardens, apply the mixture to the damaged area. Use a mixing stick or flat surface to smooth the gelcoat.
- Lay a piece of plastic film or wax paper over the repair area. Ensure that there are no air bubbles.
- After one hour, remove the wax paper.
- Sand repaired area with wet 600-grit sandpaper and buff with a fine polishing compound and wax.
Note: that we used the West Marine Gelcoat Repair Kit when making our repairs. At the time of the repair it cost us $34.99 and we were very pleased with the results.
Gelcoat Repair Tips
- Make sure to do your gelcoat repair on a day with low winds. Various chemicals have to be mixed and wind will easily cause them to fly off the boat. The mixture is goopy and it could be inadvertently blown onto undamaged areas of the boat. Furthermore, wax paper will blow away in windy conditions.
- Before mixing the chemicals, open each item and inspect them. In some cases, you’ll need scissors to cut a tube end off or a pin to poke through a tube.
- Try your best to match the color of the hull or gelcoat but remember that over time the area will match better once exposed to the weather.
- Some of the chemicals in gelcoat are extremely dangerous. Make sure to dispose carefully of any leftovers and ensure that unused portions are kept away from children.
Gelcoat Repair Video
Stories of gelcoat mishaps
First, before I let you in on our gelcoat mishaps it’s important to know what gelcoat actually is! So…gelcoat is the outermost structural layer on a fiberglass boat hull, designed to protect the underlying fiberglass layers. Gelcoat is a compound that produces a high-quality finish on fiberglass surfaces and incorporates epoxy, polyester resin, a catalyst, and other chemicals to achieve its strength and water-resistant properties. When dried, gelcoat combines with fiberglass to produce a smooth and durable surface that retards hull weakening from water intrusion and ultraviolet light.
So on with some gelcoat stories….
When Simon and I were Sailing around Rethymno Crete (island in the south Mediterranean) we had a heck of a time docking the boat. There were no marina attendants available, it was windy and there was a massive lack of working ‘lazy lines’ or ropes used to secure the front of the boat.
Traditionally, in the Mediterranean, boaters back the boat up to a jetty affixing two stern warps to the dock and one lazy line to the bow. Unfortunately for us, it took a while to find a lazy line and once we did it was so large that I couldn’t lift it!
If you’ve never used a lazy line, they’re found by pulling up a small rope attached to the jetty that often leads to a larger rope anchored by concrete on the sea floor (in front of the bow of the boat). To grab the rope, you’ll need to use a pole, pull the rope up and then quickly walk to the bow of the boat pulling more and more rope up as you progress.
After a 45 minute struggle and some help from a neighboring boat, we managed to secure Britican.
We learned about comradeship amongst sailors that day as our neighbors worked hard to help us. Our experience wasn’t, however, without mishap. Unfortunately the stern bottom of the hull scrapped the dock. There was a tiny bit of damage. For us it physically hurts when we see our boat get scratched or nicked. It’s like watching your child fall and not being able to catch them before they hit the ground.
Errrr, actually, I think it’s worse.
Usually with a child the body will heal itself. With a boat, the miracle of cellular rejuvenation doesn’t exist 🙁
Within a week, the damage was fixed by our dear friend, Admiral Stefano. Stefan Stefano flew over the Crete to help us sail the boat back to Sicily. Lucky for us, he had done many gelcoat repairs in the past so he offered to do the fix. After Stefano worked his magic it was impossible to find the area that was previously damaged.
Another story is about how I managed to nick the bow of the boat with the anchor (twice!).
While anchoring in a very turbulent bay the anchor started swinging too much and hit the hull – twice. When I saw the damage I wanted to die. Instantly, I thought, ‘Great – there’s another ££££’ For months I simply ignored the damage and secretly hoped the gelcoat ferries would appear or cellular rejuvenation would kick in and fix the issue.
And then there was the episode where a crew member was on the boom tightening a reefing line and a tool dropped onto the coach roof putting a nice tiny nick in the gelcoat. Every time something like this happens I feel so sick. There’s the cosmetic damage, the unknown cost associated with fixing it and the knowledge that you may just have to live with it.
For about a year Simon and I avoided looking at the small but annoying damaged spots. Since the Admiral did the original gelcoat repair we didn’t know how to do it ourselves.
I find that Simon and I avoid things that we don’t know how to do.
It’s so hard to learn things for the first time. Especially when you know the result won’t be perfect. Sure, we are often outside our comfort zone and trying new things. For some reason, however, with these gelcoat repair jobs we just didn’t want to make a hash of it.
Finally the day came where the weather conditions were right and we had a gelcoat repair kit. Not only did Simon give it a go, he let me video him. I suppose the pain of things gets to a point where we think, ‘who cares…I’m going to go for it and if it’s crap, so be it.’

Well… Simon and I were both surprised at how easy and inexpensive it was for us to repair the gelcoat.
The kit cost $34.99 and it took around one hour to learn, mix and apply the gelcoat and another hour to sand and polish the repaired area.
In the end the fix isn’t perfect but it’s not bad. In fact, I have to work hard to find the once damaged area.
The important lesson that we learned (once again) is to not be afraid of doing things. It’s okay to be imperfect. It’s okay to learn…
No longer do we have to avoid looking at our damaged areas. A 1 ½ hour job removed a bit of weight and anger I had hovering over my shoulders.
Do you have any tips on gelcoat repairs? If yes, please add a comment below so we can all benefit.


I am using Poli Glow, very satisfied with it. This stuff works and will make the surface looks new. This Gelcoat restorer from Poli Glow is offering its superior quality effects without giving unnecessary flaking off or yellowing the surface.
I like the attitude. Just do it. If it turns out really ugly you could grind it off again 😉
You should use a rubbing compound only if the gel coat is oxidized heavily and must follow up with extra layers of lighter-level polishes. A small reminder: the gel coat is removed little by little when constantly applied with these products, so do not go overboard.
Great feedback Dalton. Thank you! Kim